Saturday, August 27, 2016

Team Associated RC10 B6 / B6D review


image

This review took a while to write, because I wanted to make sure I had enough experience with my buggy to provide some good information.  Every time Team Associated releases a new generation of buggy, it hits the RC world like an earthquake, because they are (not) arguably the biggest seller of race buggies in the world and probably outsell all of their competitors combined.

So when Team Associated announced the B6/B6D, I immediately pre-ordered one because I knew it would be good.  And not just good, but an improvement over its predecessor, already the most successful 2WD buggy on the market, the B5M.

So is it better?  If so, what and why?  How do you improve on one of the best, if not the best, buggy in the world?

Overview:

The B6 builds on the now-established go-to configuration for 2WD buggies – the mid-motor platform.  Rear-motor is basically dead, and mid-motor is used in all conditions, from super high-grip astroturf and carpet, to very loose outdoor conditions.  Two years ago, it wasn’t clear if mid-motor could work, but the RC industry has gone towards high-traction indoor tracks, and mid-motor is now the defacto weapon of choice.

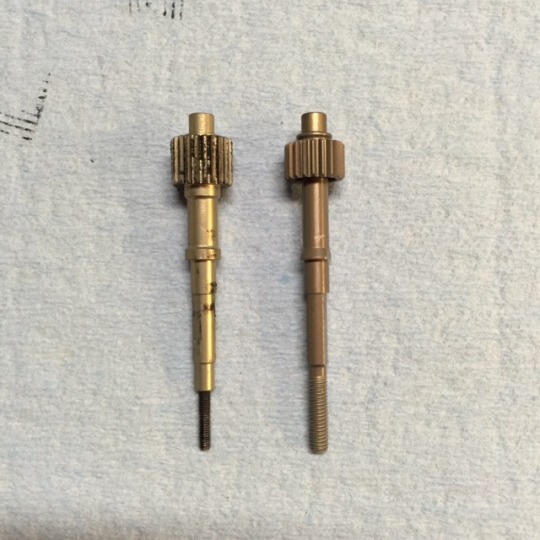
But what has changed in the last two years is that people have figured out how to adapt their buggies for high traction.  Laydown transmissions give up rear forward traction for a more forward-biased weight distribution closer to 50/50.  It also lowers center of gravity for higher corner speeds and less roll, and more steering.

The B6 comes in two versions, a high-grip astroturf/carpet version (B6) and a dirt version (B6D).  My local track runs medium-high grip indoor clay, so I was pretty sure I wanted to run laydown transmission and got the B6.  I basically set it up as a dirt buggy with laydown, but in retrospect it would’ve been cheaper to go the other way (start with a B6D) and buy a laydown.

Build: 6

My build was decent, but it didn’t go as well as my B5 and B5M builds.  The manual has several errors, more-so on the B6 manual.  But the AE instructions are clear otherwise and it’s a fairly straightforward build.  No parts were missing, but the clear typos and incorrectly labeled screws were a letdown.  Some of the plastics were really tight – the steering linkage has this issue as well as the shock pivot balls, so I have to give the build an average score.

I felt like they rushed the instructions a bit and checking the online versions a few weeks later, they still had the same errors.

Design:  9

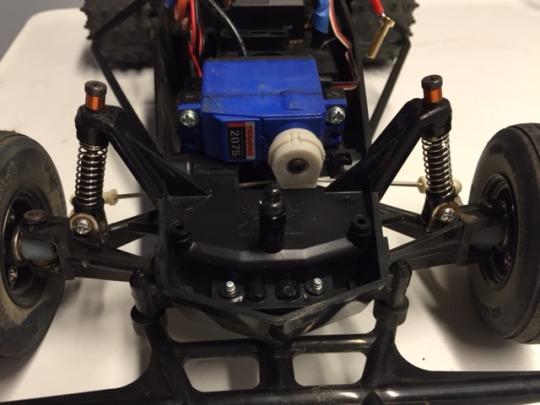
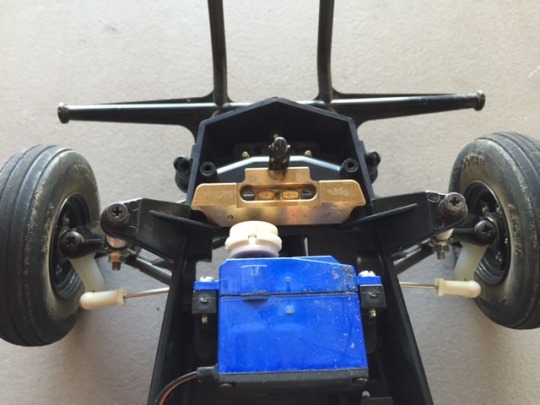
The B6 takes an already good design in the B5M and makes it even better.  The front end is no longer 4 separate pieces and goes together with only a few screws.  You can remove the rear arms by only unscrewing two screws from the bottom and can instantly get at the rear inserts.

Rear inserts?  Oh yeah, you now have pill inserts for both hingepins included in the box and have a bazillion combinations of toe-in and anti-squat in addition to arm width.

It has even more adjustments than the B5 – in addition to your choice of transmissions, you can now adjust axle heights both front and rear, you can get a gear diff out of the box, you can mount rear shocks fore and aft, you have more weight placement choices…  it’s an astonishing amount of setup options.

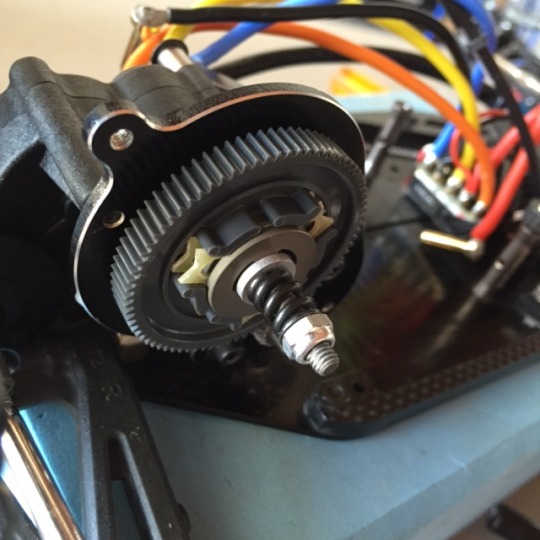
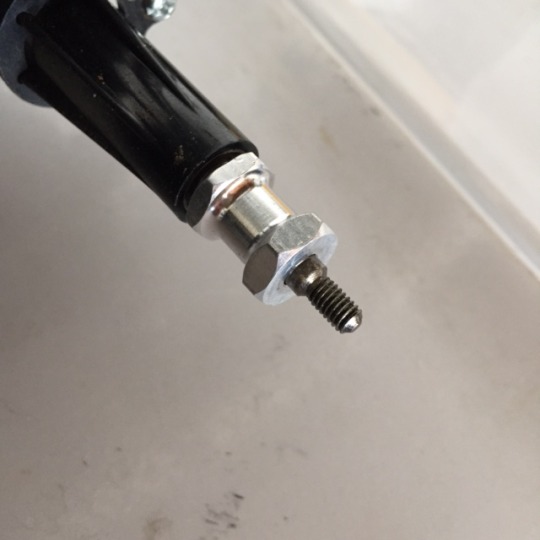
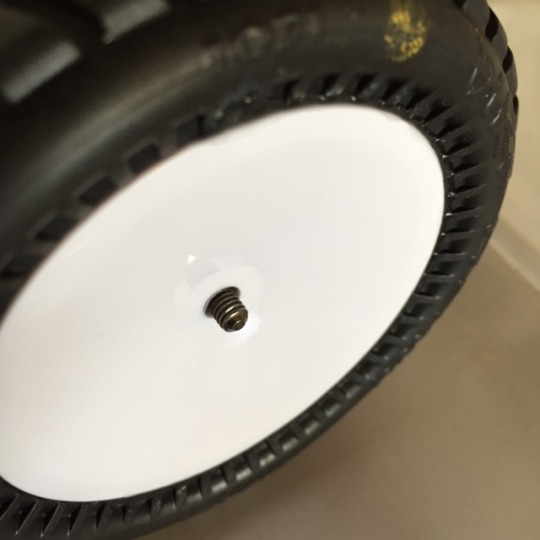
Where the buggy shines is that it’s adaptable to any type of track, especially with regards to ride height and arm angle.  You can tell they designed the buggy for super low ride heights all the way up to your standard 22-24mm dirt heights.  The wing mounts are now buttons instead of bodyclips.  The battery strap is adjustable without using foam spacers, although the 7.0mm nuts (vs. the thumbscrews on the B5M) are rather annoying and easy to lose.  You now get V2 shocks as standard.

The only thing I noticed that they flubbed is that you can’t get at the motor mount screws in the laydown and the rear shock tower mount is a pain to get at if mounting shocks on the front of the arms.  I had to take a Dremel to the side rail so that I could fit a 2mm hex driver on the motor mount screws.

So there are a few design choices that prevent it from getting a perfect 10 scorew, but overall the design is amazing, as usual for the latest generation of 2WD vehicles.

Performance: 10

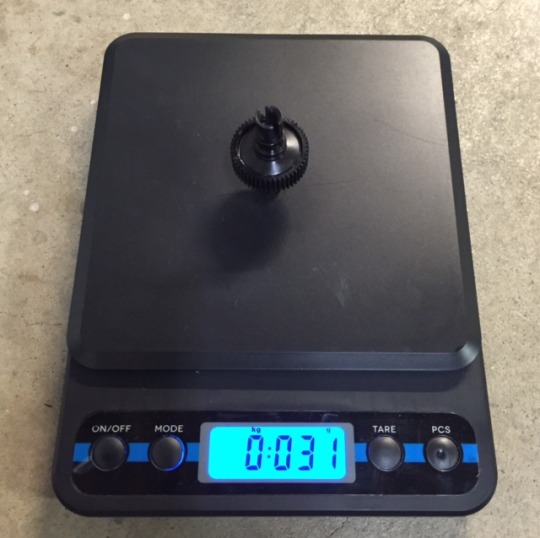
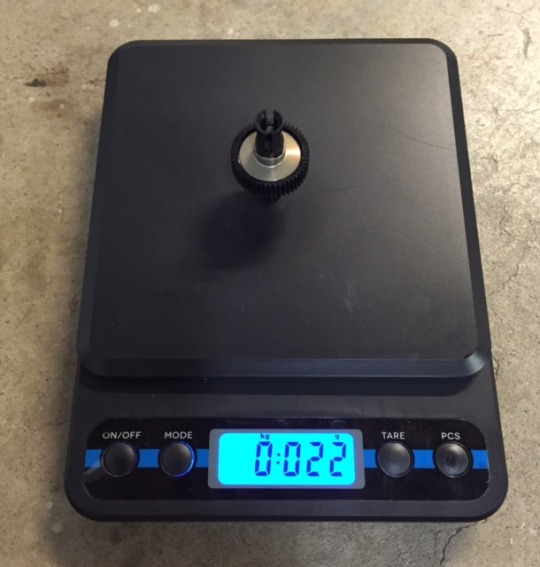
This buggy just rocks.  Out of the box, it has more steering than the B5M, with only marginally less rear traction.  It jumps well, is more stable, and is extremely tunable for all conditions.  The buggy is also very light, right at the ROAR minimum of 1500 grams depending on your choice of electronics and tires, or even below.  With basic electronics (RX-462, Savox servo, Hobbywing XR10 justock ESC), premounted AKA wheels and tires and a full-size battery, my buggy is at 1495 grams.

In addition to the light weight, it is easier to place that weight centralized to the vehicle with the forward battery placements and forward mounted rear shocks.

The biggest performance gain is the light weight and added steering.  On paper, the B6D doesn’t look like it should be much better than a B5M, but when you drive it, you immediately can go faster.  Cornerspeed is where it really shines.

Durability: 10

I’ve crashed my B6 quite a bit, and haven’t broken anything yet.  The shock towers are carbon now and don’t flex as much as plastic, but that hasn’t caused me any issues.  The rear wing mount is more flimsy than before, but it hasn’t broken on me.

The plastics are different than the B5M.  They feel lighter and less fibery, but have proven to be very durable.  Another nice improvement is that the plastics wear very well.  B5M arms would notoriously slop out after only 10 or so packs, but the B6 arms are tons better and I haven’t noticed any slop after 20-30 packs.  Kudos to AE for making strides in this area.

Value: 8

The B6 went up in price to $309 (from $279 for the B5M Factory Lite).  You get carbon shock towers and some minor aluminum bits (shock standoff bushings, bumpsteer plates, C-block brace, and kingpin inserts), but lose out on the titanium turnbuckles.  It’s a fair price and inline with its main competitor, the TLR 22 3.0.  It’s still cheaper than the other premium buggies, the Kyosho RB6.6, XRAY XB2, and Yokomo YZ-2, but no longer the absolute steal it once was.

Support: 10

Team Associated parts are still the easiest to find in the U.S., and they have a huge distribution and team support system in place.  Setup sheets come out weekly, so its no surprise they rank number one in this area.

Dislikes:

The forward mounted shocks and laydown make the car a bit more difficult to work on, but that configuration option makes it worth it.  I also find the wing buttons a little annoying, though I think they are universally lauded by everyone else. 

The battery nuts are just plain dumb.

Conclusion:

The B6 is a large step forward for the 2WD buggy platform.  The huge number of setup options for a variety of track types pushes the mid-motor configuration forward in a big way.  The B5M was their first foray into the mid-motor market, and you can tell they’ve learned a lot about how to get the most out of that configuration and this buggy is now next generation.  The light weight, adaptability, and improvement in materials make this buggy well worth it.

I was never quite able to get my B5M to drive the way I really wanted to.  I like a huge amount of steering, and I had a hard time eliminating mid-corner push on the B5M without giving up on rear traction.

The B6 has loads more steering while still maintaining a lot of forward drive somehow.  It’s a winner.

Sunday, August 21, 2016

MIP TLR 22 Super Diff bi-metal differential kit review (MIP16020)

More speed, more speed! 

With the new Reedy M3 motor and MIP topshaft in place, the 22T 2.0 is pretty much rockin’.  I had a good experience with the bi-metal outdrives in my B6, and I found a good deal on the same package for my TLR, so decided to add it also.

The MIP Super Diff bi-metal kit is a complete differential kit with everything you need except the actual gear.  You keep your original TLR gear and replace everything else.  Those of you with Associated cars will notice that while the differentials are similar, there are slight differences.  The TLR diff rings are wider, heavier, and a little more expensive.  The kit goes for about $41 online.

The MIP diff basically converts your TLR diff into an Associated diff using the same diff rings.  Converting to Associated diff rings will actually save you money in the long run because the rings are substantially cheaper ($2 rings vs. $6 rings)!  Balls are same between the two (14 3/32″ balls), and the thrust is the same.

The diff plates are aluminum and key into steel outdrives that are separately replaceable.  The entire diff saves 9 grams over the kit parts which is pretty substantial.

image
image

In my 17.5t buggy, the weight savings was very noticeable and the car was immediately much faster.  But in my 13.5t truck, it’s nowhere near as pronounced.  I would say it’s a no-brainer for stock buggy if you’re not going to go full MIP pucks, but in a relatively heavy truck and a more powerful motor, it makes a difference, but to a much smaller extent.  It feels maybe 5% faster?  It’s much more important to get a strong motor.

All in all, I added a bunch of speed parts to my truck and dropped about a half second and am now only a few tenths off of my B6 17.5t pace.

Nice little kit and I can finally use all the extra Associated diff rings I have laying around.

Tamiya Hornet front end mods

The Hornet rides very high with a narrow stance, which makes it a bit unstable at speed, especially compared to modern buggies.

The 35g front end weight helped keep the nose more planted and less bouncy, but I also worked on reducing ride height.  I put in a 3x5x4mm spacer above the shocks to limit downtravel, and this keeps the front of the car lower to the ground.  I’m also looking at ways to lower the rear of the car – the rear suspension is so weird, I may need to just bolt the rear end in which would eliminate all roll, so we’ll see.  Here’s a pic of what I did to limit the front end ride height.

I also clipped 3 coils off the springs so I wasn’t adding any additional preload.

image

Overall the front end is quite a bit more stable and less likely to tip over.

Lastly, the stock tierods were overly long and had a lot of built-in toe-in.  I’m not sure why they’re so long, but I dremel’d off about 3 threads, which was enough so that I could screw the tierod ballcups down and get it close to 0 degrees of toe-in.  I think I still have a tiny bit of toe-in, but it’s much better than before.

This frees up the front end for better turn-in and reduces some of the front end push the stock geometry has.  Overall, it makes for a more balanced, neutral-handling buggy.

Friday, August 19, 2016

MIP lightweight TLR 22 race topshaft review (MIP16030)

(Stock topshaft on left, MIP topshaft on right)

I picked up an MIP all-aluminum topshaft for my 22T 2.0.  It was pretty cheap and I’ve been looking for ways to add speed for not a lot of money, so at $12 this was a cheap buy.

The MIP topshaft improves on the stock topshaft in a couple of ways.  It’s all aluminum instead of a two-part aluminum topshaft and steel threaded rod like the TLR part.  I’ve had the threaded rod back out on me before, so having a one piece design is nice.  It’s also 1 gram lighter than stock and has cut gears, so it should be slightly faster than the stock topshaft.

The final nicety is that it uses a standard M5 locknut so you can use your 7.0mm nut drive on it to make adjustments.  The stock nut is so small, I found that at tight slipper settings it would tweak the angle of the spring a little bit and not apply even pressure on the slipper plates.  With the thicker threading and bigger nut, I find the spring works a little more consistently.

Here it is mounted with my Avid slipper and garodisc pads:

Tuesday, August 16, 2016

Reedy Sonic 540-M3 Short Stack 17.5t/13.5t review

I had a Sonic Mach 2 17.5t in my B5, and it was a decent motor, but the 17.5 M3 short stack motor I used in my B5M Lite was a beast.

For the 22T 2.0, I tried a couple of 13.5t motors, and wasn’t really happy with any of them.  I had an Atomik RC Redline motor and a Team Powers Actinium, but they always seemed slow.

Since I had good luck with the 17.5t, I decided to get a 13.5t SS for my 22T 2.0, and wow, this thing is a monster.  It flat out rips.  It’s probably faster than my Atomik 10.5t motor.

Jumps I could barely clear, I’m now over-jumping by 1-2 feet.  The front straight features a small rise that I would wheelie a couple of inches on my buggy.  On my stadium truck, it’s doing full back-flips if I don’t let off the throttle.  I’m going to have to put a wheelie-bar on it!

The latest generation of Reedy motors have been awesome in my experience, and they’re also one of the more cost-effective at $90 (or less).  Bang for the buck, I don’t think you can beat them.

The solder tabs are a little large though – I had to cut off the corner of the A-tab to get it to fit in my truck, other than that I’ve been very happy with this series of motors.  Quality is great, performance is awesome, price is good, replacement parts are available, and support is good.

If you’re building a spec race car on a budget, this is definitely a motor to consider.

Reedy in a TLR?  It doesn’t quite fit, so you have to trim down the left-most solder tab a bit.

More speed please!

My 22T 2.0 is working well in the handling department, but it’s always been pretty slow speed-wise.  I got a few goodies recently to remedy that that I’ll be reviewing in the next few posts.

Thursday, August 11, 2016

MIP Super Diff Bi-metal kit review (B6)

I needed to rebuild the diff in my B6 (it was the one I ran in my B5M), so I decided to upgrade to the MIP super-diff with bi-metal outdrives.  Cost was $41, or about $20 more than a diff rebuild kit, so it makes it a pretty good deal.

The bi-metal outdrives consist of aluminum diff ring holders that mate into steel outdrives.  This gives you the combination of a lightened diff with the durability of steel outdrives.  I considered getting the full pucks system with aluminum outdrives, but the increased maintenance made it unappealing.

The bi-metal outdrives alone drop the weight by about 0.3 oz. (8.5 grams).

image
image

It’s a nice little upgrade.  The weight is also reduced where it affects the most, which is furthest away from the centerline.  A nice bonus is that when you need to replace the outdrives, you can replace just the steel part.  You don’t even have to remove your diff to do this, you can leave it in the transmission on the car!

Testing it on the track, it felt like my B6 had much more acceleration.  Jumps that I could barely clear before, I could mess up the approach and still clear.  I’d say the acceleration/power difference was about 10%, or about the difference of the slipper eliminator.

Pretty slick and a nice upgrade.  If you reuse your existing diff rings/balls/thrust, you don’t have to get the whole super-diff bi-metal kit, you could just buy the aluminum diff hubs and steel outdrives and save a few dollars.

Wednesday, August 10, 2016

Tamiya Hornet mods

I’ve made a few changes to the Hornet to improve it a bit.  First of all, there is a limited selection of tires, so I got the hex conversion for the rear wheels.  It basically uses an aluminum spacer to take up the offset that the regular wheels have and lets you use modern buggy wheels.


It doesn’t leave a lot of threads for the thickness of the wheel.  I took a look at DE Racing, AKA, Kyosho RB6, Pro-line, Jconcepts and Associated B6 wheels, and the Associated wheels were the thinnest.  They leave about 5 threads on the axle for the nut, and I recommend sticking with these to get the maximum amount of material for the nut to thread onto.  Here are some Dirt Hawg tires I’m using for the street.


I’ve also been playing with the suspension on the buggy to get it to work a little better.  One of the main weaknesses of the Hornet is that it is super light on the front of the buggy and very heavy on the rear.  I had a 35g TLR brass weight lying around that fit perfectly on the front end above the axles.  The weight softens up the front end so it’s not quite as bouncy and a little more plush.  You can use lead tire weights or whatever, but I recommend putting some weight on the front end because it is crazy light there.