Tuesday, January 26, 2016

Gearing and Timing

Gearing and timing are two adjustments you can make that have a substantial impact on speed and acceleration (and heat!).  For the purposes of this post, I’m only talking about fixed timing usually adjusted by the endbell timing of a sensored motor.  Some ESCs provide dynamic timing (in addition to fixed timing) that can change timing based on RPM levels (boost) or how long you are holding the throttle trigger (turbo).

Gearing

Gearing is the more straightforward concept – basically there are two gears you can adjust:

  • pinion
    • bigger = higher
    • smaller = lower
  • spur
    • bigger = lower
    • smaller = higher

So obviously you can adjust your gearing on either the pinion or spur side, most people have a wide variety of pinions (since they are interchangeable on motors) and keep the same spur.  Changing your spur gear is usually used to move the motor location closer or further from the rear drivetrain (to affect weight balance), or if you can’t get the gearing you want by just changing the pinion gear.  Eventually if you go big enough or small enough on the pinion, you’ll run out of room and the motor won’t fit, and you’ll have to change your spur gear.

Anyone that’s driven a stick shift knows that higher gearing will allow for a higher top speed down the fast sections, at the expense of slower and more difficult acceleration from slow speeds.  Lower gearing helps you accelerate from slow speeds more efficiently at the expense of lowering your top speed (or basically sitting screaming at redline and hardly getting anywhere down the front straight!).

Timing

Motors with 0 timing advancement means the ESC will send the motor pulses properly aligned with the poles of the motor.  If you add timing, you are advancing the timing in relation to the position of the rotor when it is spinning.

By adding the appropriate amount of timing based on how fast the rotor is spinning, your motor will actually produce more power and run more efficiently.  This has to do with electromagnetic fields and such that I really don’t understand, but the basic idea is that the faster the RPM the motor is spinning, the more timing you want to be using.  The motor will produce more power at those high RPMs.  The slower, the less timing you want to use.

So basically, adjusting the fixed timing moves the torque bias of the motor.  Less timing will add more low-end grunt at low RPMs, and more timing will add high-end power.  What this means in terms of an RC car is that you want to set your timing for the RPM you spend most of your time at when driving around the track.  Most flowing racetracks will have your car spending its time high in the RPM range, so in this case you will want to add a lot of timing.

Our local track’s layout is currently rather challenging, in that it is tight, narrow, and with a lot of U-turns that go immediately into a jump.  You end up doing a lot of stop-n-go’s, and as a result spend more of your time with your motor spinning slowly.  I lowered my timing today as a result and got more low-end grunt to help the low speed acceleration into jumps.  This hurt my high RPM power, but since the layout had very few fast sections, it was a useful trade-off.

If you get your timing set properly for the RPMs you are driving most at, you should notice the car making more power at more places on the track, and running more efficiently overall which will lower motor temperatures as well.  The less efficiently you are running your motor, the more heat it produces.

Putting it together

OK, so we have some idea on what gearing and timing do, how do you use this on the track?  Well, they are related, in that you will need to make adjustments to both, and you may have to adjust timing based on your gearing and vice-versa.

In general, you should set gearing for the fastest part of the track to make sure your top speed is not limited very much by gearing.  It’s OK to be topped out on the front straight for a short amount of time, but if you are topped out for a very long amount of time, you will want to add gearing because you are not going as fast as you could.  If you never hit the top speed or you are producing too much heat because your motor is working too hard on the slower sections, you will want to lower your gearing.

Once you’ve decided on the appropriate gearing, you’ll have to pay attention to the track and figure out what part of the RPM range you are spending most of your time.  High-speed or flowing tracks where you rarely come to a stop will tend to have your motor high in the RPM range and you’ll want to use a lot of timing.  Slow speed tracks with a lot of stops and slow sections and U-turns will have your motor mostly in the lower part of the RPM range, and you’ll want to reduce timing.

After setting your timing, you may need to adjust your gearing again, and vice-versa.  It’s a process.  An example of this is you set the gearing and your straightaways are working well.  But you add timing and are now getting a better exit drive from the last corner and are now actually hitting top speed even earlier and longer.  Then, you would probably want to add a tooth on your gearing and you should be screaming down the front straight!

I hope this post helped explain how to use and set your gearing and how they are related.  It’s a confusing topic, but it’s something you’ll want to do every time the track layout changes.  Every car, motor, and track layout change will require a different combination of timing and gearing to get the most out of your car.  Not only will this make your car faster, it will also reduce motor and ESC heat if you do it right, which will prolong your electronics.

Good luck!
Saturday, January 23, 2016

Tire compounds

I race at an indoor track, where the dirt is a mixture of clay and dirt and I’m sure other special ingredients.  For the most part, it acts like a clay track.

Most tires come in a few different compounds, usually soft, super-soft, and indoor clay.  Soft and super-soft have high and higher grip, but do so by using a very soft compound that is squishy.  This makes them stickier, but at the expense of life.

Clay compound tires actually have less overall grip than soft or super-soft, and are a firmer type of rubber.  So why do racers use them if they’re not soft and sticky?  Well two reasons – one, the firmer rubber deforms less on hard, almost concrete-like clay surfaces and gives better feel.  Two, you are supposed to sauce the tires with a special tire additive liquid to soften the rubber and give the grip you’re looking for.

Tuesday, January 19, 2016

HUDY 1/10 off-road setup station review


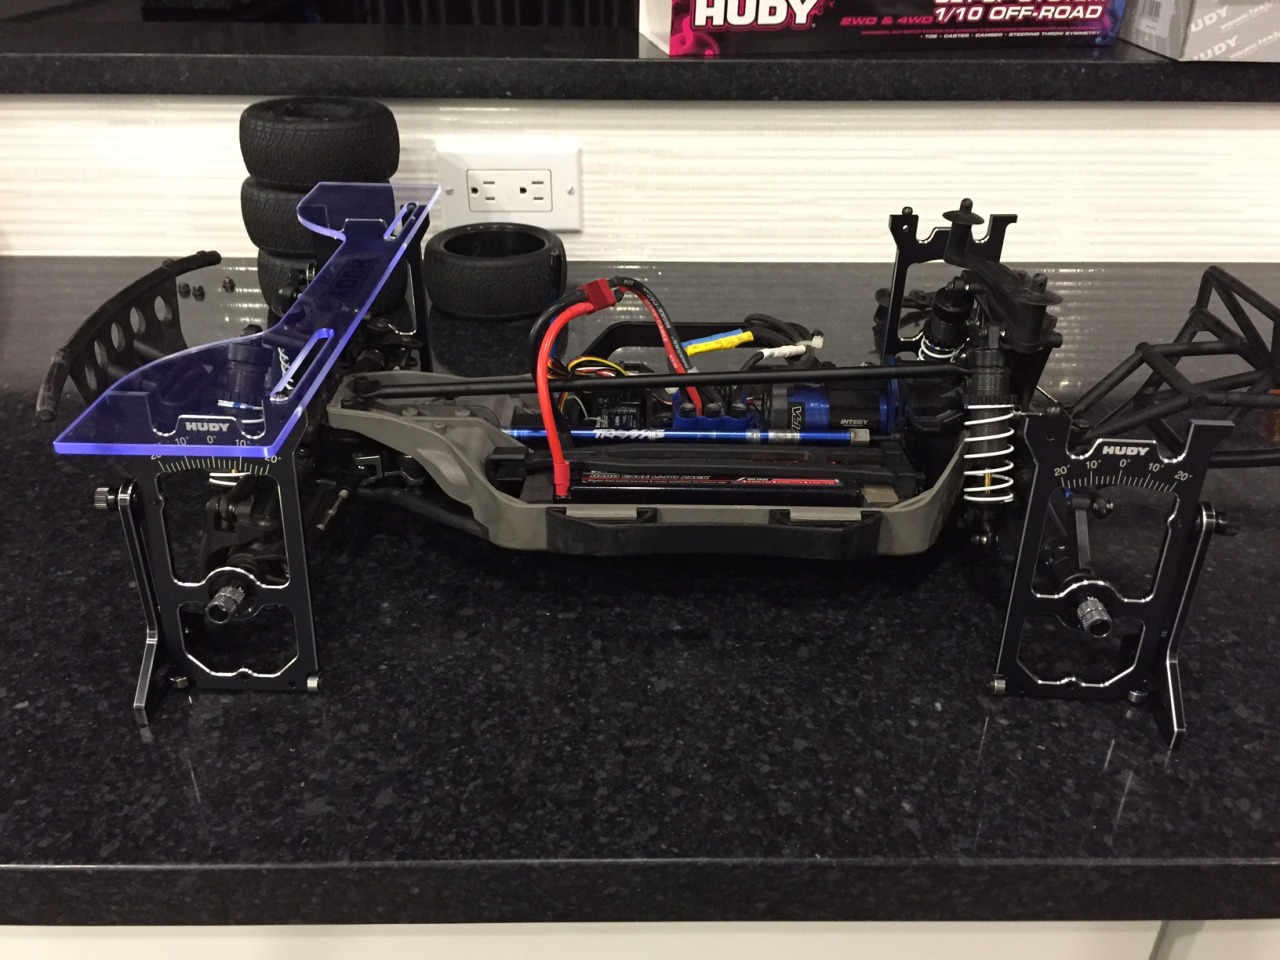
I’ve had the HUDY station for about a week, and got a chance to try it with my cars. I figured it was about time to do a review with it and give you my thoughts.  The HUDY station is used to (primarily) set camber and toe for RC cars, and it’s a fairly expensive precision instrument. The build quality is quite high, but the price is also quite high ($150). There are a couple of other companies making similar instruments, but I’m sure the tolerances aren’t as good as this setup station. You do need high tolerances, because you’re trying to make very small measurements.
I bought the 1/10 scale off-road station, aimed at 1/10 buggies. My Slash 4x4 also fit,but just barely.  Anything with longer arms than a Slash is not going to fit, there was maybe a few mm of extra room.  While I don’t know for sure, I suspect short course trucks with Slash offset wheels will fit (Tekno, HPI Blitz) and other trucks will not (Losi, Associated).
To use it, you basically suspend your cars in the 4 hangers, and then you put the clear plastic top plate on top. The hangers will tell you the camber, and the top plate will tell you the toe  .However, and this is a big one, you need to be very specific in the technique you use when measuring your car. Ideally you get droop blocks, which are aluminum blocks you put underneath the car, and press down on the car so that the arms simulate the ride height you normally drive your car at.However, they only make droop blocks in 10mm increments (10mm, 20mm,30mm, etc.), so there’s no way to get the exact size to set the car at the exact height you want to measure at. 
For those of you that have been paying attention, you’ll notice that your camber and toe change as the A-arms move through the range of travel, and no two measurements are the same if the arms are not exactly in the same spot each time.
Tips:
All RC cars have a bit of slop to them, especially in the steering, so you need to “drive the car forward” in the hangers a bit (I just drag them forward a little) to take up the slop and set the suspension and steering in where they would be when the car is moving forward. 
Have your radio on and the car on while you are doing the measurement to ensure your servo is centered in its normal spot. Else your steering will be slightly crooked when measuring.
It’s a good idea to get the quick mount wheel nuts. You don’t have to, but they’re handy to use and won’t scratch the hangers. I bought the Arrowmax 4mm version, which is about 1/3 of the price ($7) of the HUDY version($20).  I measured my Slash 4x4 and set toe and camber with a 9v battery used as a droop block. This looked like about the right height that I drive the car at. However, when using the car afterwards, there was about a 3 degree difference in rear camber and the front toe in was off by quite a bit, maybe 5 degrees?  This is because the car naturally drives at a different setting than what I was measuring at, so you basically have to do a conversion between what it is in the hangers,and what it is on the floor. This mean that the next time I set my Slash, I want to set front toe at about 5 degrees of toe-in and -4 degrees of camber, to end up with 0 and -1 respectively.
Conclusion:
Overall, I think the instrument is a bit fiddly and time consuming. If you’re a super-dedicated racer, this is the most accurate instrument you can buy to set fairly critical parameters on your car. But for 95%+ of people, I think a basic camber gauge and eyeballing your toe is going to be faster and easier and get you close enough. Something like the DE Racing setup wheels is another option that is cheaper and probably a lot simpler and faster to use and I would guess is a happy compromise for the ones that want something more accurate than a plain ol’ camber gauge.
Rating: 7/10

Monday, January 18, 2016


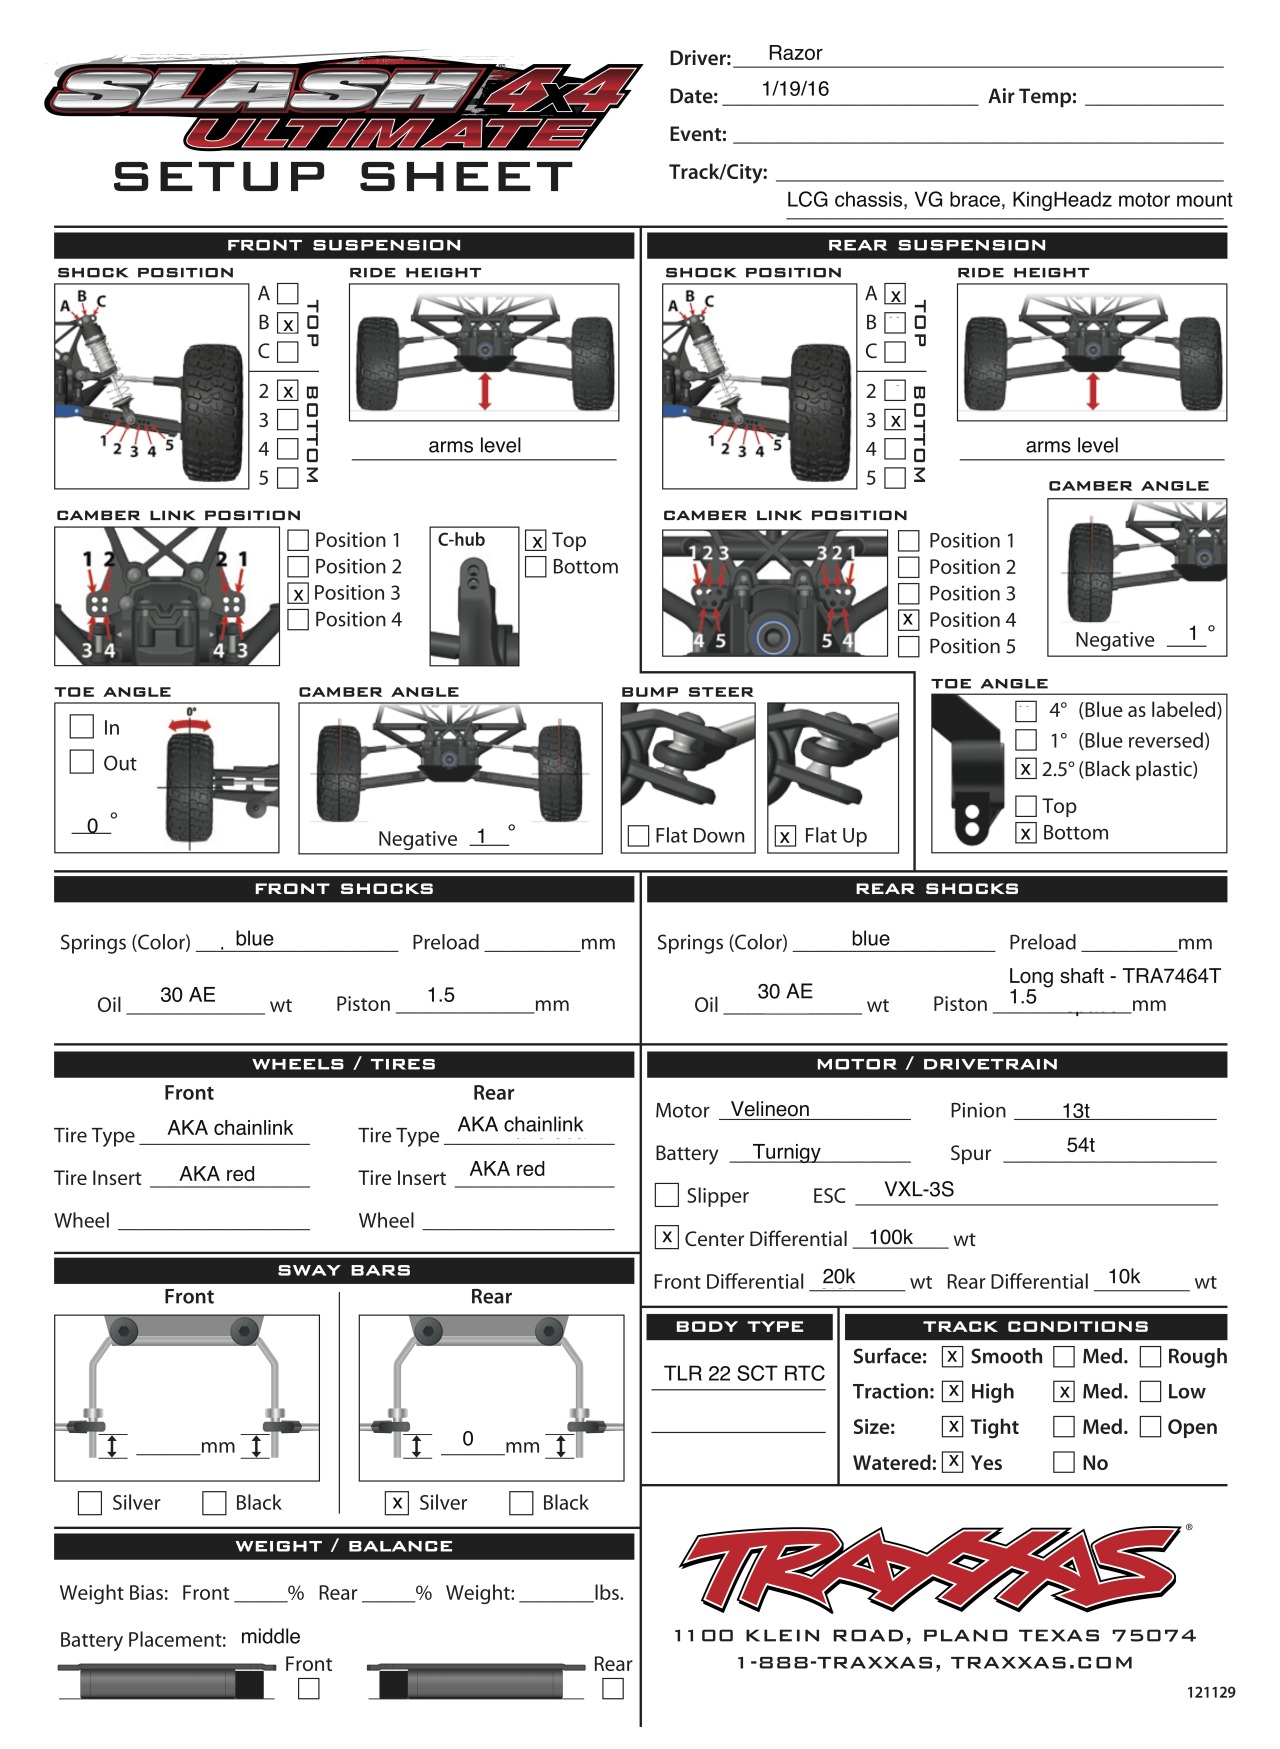
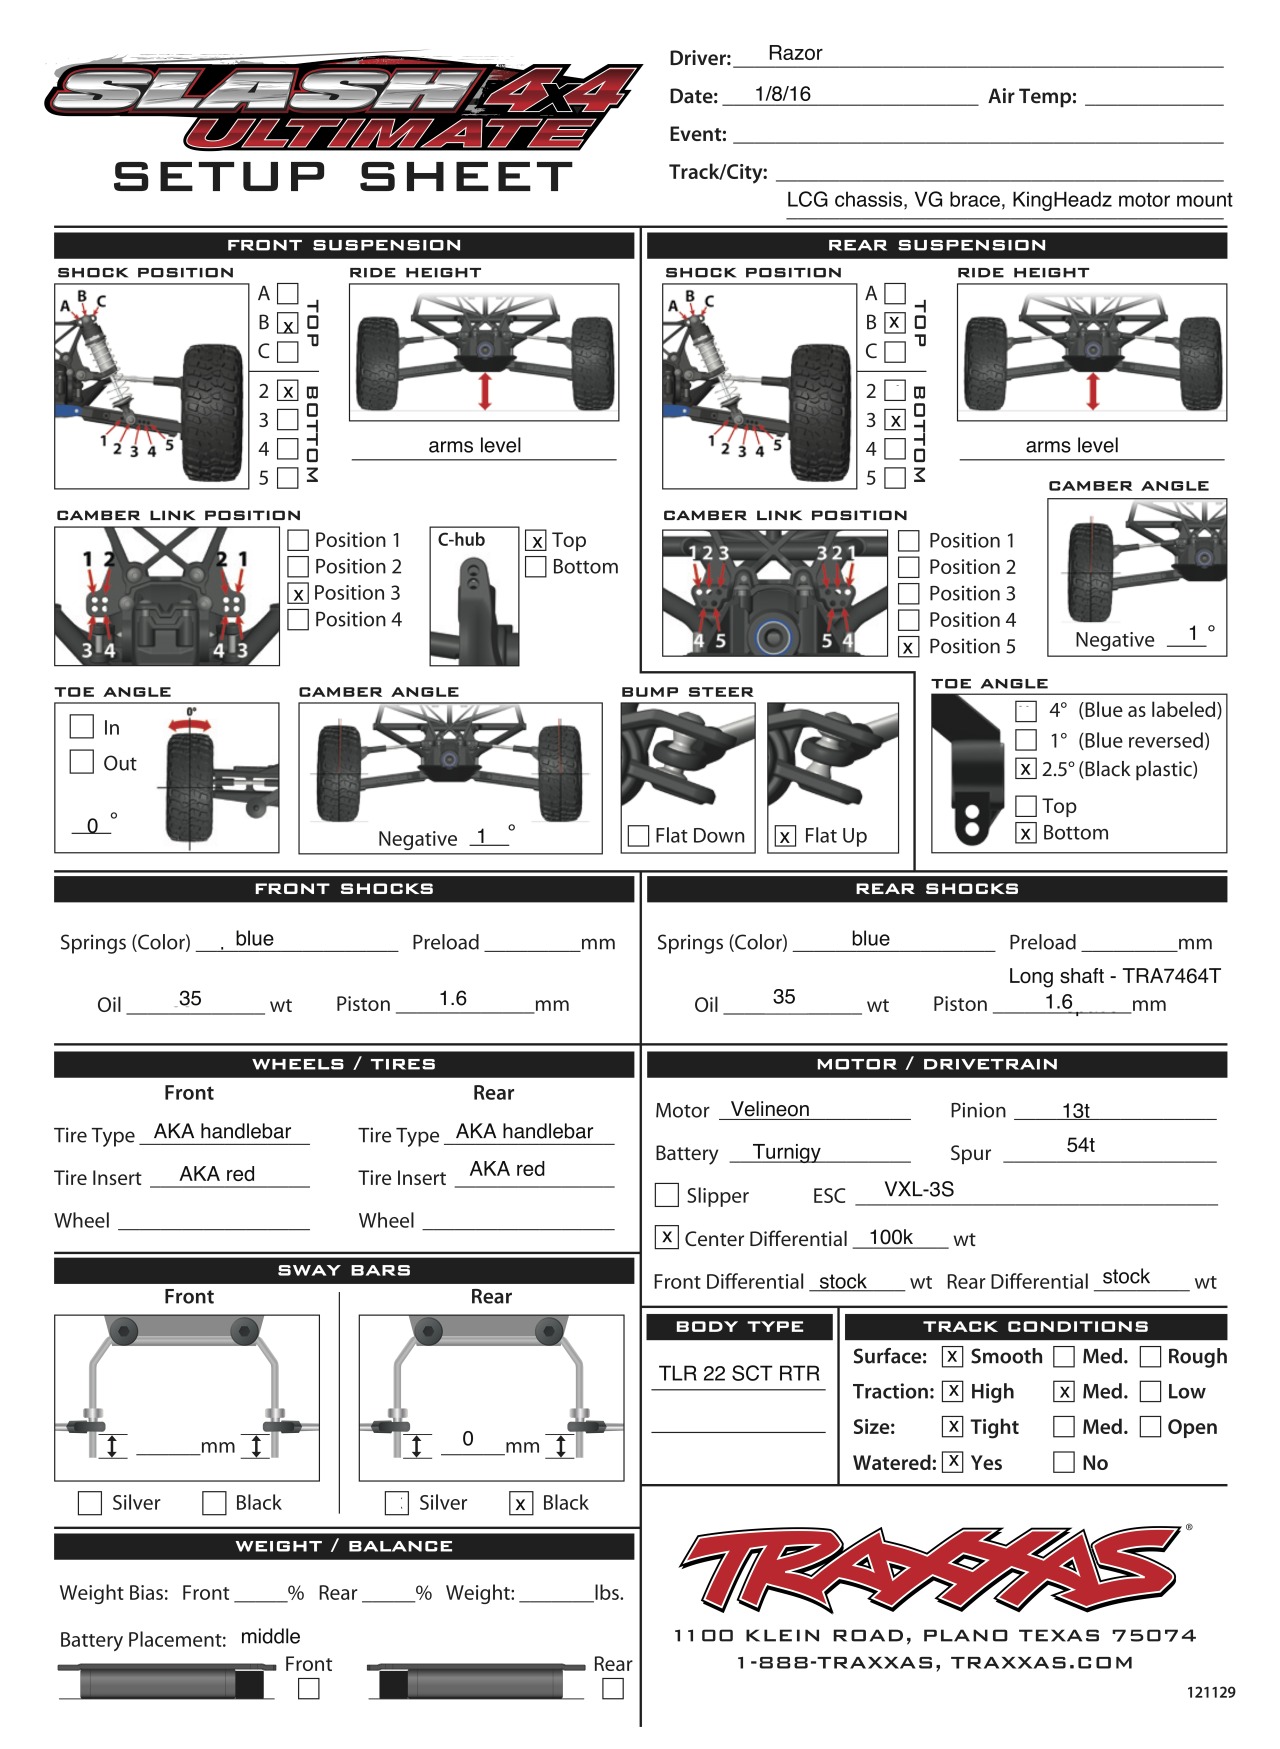
I made a shock package change, going with 1.5mm pistons and 30wt fluid to see if I can get some more shock pack.  Bench testing, it seems to have less damping than the 1.6/35wt combo, but we’ll find out at the track this week.  I also added more camber gain to the front/rear and switched to clay compound Chainlinks.  Grip is not as good as the soft compound Handlebars I used to use, but they should pack up with dirt less and should have decent grip once they’re broken in and sauced.
I might need to go to 32.5wt fluid, we’ll see.  Also am using 20k diff front and 10k diff rear, and that seems about right.  Any lighter and I would probably suffer on the drive a bit.  Steering seems fine.  I am running the front holes on the caster hubs though for a sharper steering angle.

Sunday, January 10, 2016

Slash 4x4 diff rebuild

I rebuilt all 3 diffs this weekend and figured out a few things that might help out.  The basic process was:

Get the rebuild kit (TRA5381 or TRA6884 for front/rear or center).

  1. Remove the diff.  For the front/rear, take off the bumper (4-5 bolts), take off the outdrives (2 1.5mm grub screws), then remove the two bolts that split the bulkhead in half.  Couldn’t be easier to get to them.
  2. Take off the bearings (check/replace while you’re at it).
  3. Remove the 4 bolts that hold the gear onto the diff housing.
  4. Disassemble the whole diff and clean all the old metal parts with motor spray, WD-40, or your degreaser of choice.  Throw away the non-metal parts.
  5. Pre-thread the 4 bolts into the new housing.  This is actually pretty important, you don’t want to apply a lot of torque when you’re reassembling.  By pre-threading them, this helps you tighten the bolts nice and easy later on during assembly.
  6. Coat all of the blue X-rings and the gasket with diff fluid, then put in all of the outdrives and spider gears.  Take care to note that the outdrive that goes into the housing has an extra metal gasket the gear side does not.
  7. Put on the thin rubber gasket, making sure everything is lined up.
  8. Put on the big metal gear, again making sure all of the holes are lined up.  There are some small guide nubs in the housing that mate to the gear, so it should fit together nicely.  If it doesn’t, take it off and realign the gasket!
  9. Tighten the 4 bolts by holding onto the plastic diff housing.  Try not to hold onto the gear while you’re tightening, as this will twist the gasket.  The bolts should be tightened just enough till you feel resistance – you don’t need to crush them.
  10. Put the diff back in, and reassemble the car.  Presto!

Once you go Slash you never go back

I spent Saturday evening at the track tuning my Slash 4x4.  I also ran into Tony and his son and checked out their awesome new Slash 4x4 Ultimates.  It was nice to see a new car actually, as I got to check out the play in their A-arms.  I figured out my rear arms are a bit worn out and sloppy, even though they’re not broken!

We have a high speed sweeper where I was constantly losing the rear (front planted).  Moving the shocks inward helped a little by adding a more progressive spring rate.  I also added some more rear camber gain by moving the rear camber links to the outside hole on the shock tower.

But the trick that helped the most was inducing a little more body roll by switching back to the silver rear sway bar.  I have so much traction now, I’m getting a tiny bit of front end push!

I also rebuilt all my diffs.  The rear was too slow and the front was OK.  Went with 20k front, 10k rear and 100k in the center, will test that out tomorrow.  Look for lots of Slash updates as I get this thing dialed.

Of course they’re going to change the track layout again in 2 weeks, so I may have to switch things up yet again, but it’s been a ton of fun tuning the Slash.  It’s definitely my favorite part of the hobby.

On the downside, it seems like my Traxxas receiver went out in the car, it was behaving very erratically and has gotten worse and worse.  I had an extra Futaba receiver for my 3PL radio, so I threw that in and hopefully that fixes it.  Else it’s the ESC, which would suck!

Friday, January 8, 2016


I took the Slash to the track today and messed around a little bit and noticed some stuff was not quite right.  Moved the rear shocks around a little bit to get more of a progressive rate to the springs to help in the high speed sweeper we have here.  I’ve also gone to 35W front and rear with blue GTR springs all around.

Wednesday, January 6, 2016

TLR 22T 2.0 review

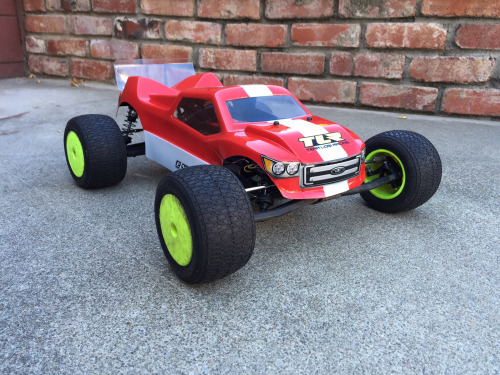
image

I’ve got one more car in my possession that I haven’t reviewed yet, and that’s the TLR 22T 2.0.

I’ve had this car for about 3 months now, and it’s the first car I bought used.  While I got the car pretty cheap ($150 roller plus lots of extra aluminum parts), it still cost me quite a bit to fix a bunch of things that were done wrong.  I’m not super anal about how my cars are built, but the previous owner definitely did a bunch of things wrong that I had to correct, so overall I didn’t save much over a new kit.  It’s pretty much turned me off from buying a used kit again, and when you consider the wear the plastics go through after a normal season, you can see that for the most part a new kit makes more sense.

But enough about my personal history of the car, let’s go onto the review.

Overview

The TLR 22T 2.0 was the last of the 2.0 kits, and features all of the upgrades to that point.  You get the bellcrank steering, revised caster and steering blocks, improved shocks with X-rings, and a new slipper clutch.  Like all of the 1.0 and 2.0 kits, it can be built as rear motor or mid-motor, and includes all of the parts (and both bodies!) to make that happen.  At $299, it’s a pretty good value and is the cheapest of the 2.0 kits, despite having the most parts in the box.

TLR tends to come out with a buggy first, then the short course, and finally the stadium truck.  So it’s pretty much the fully realized evolution of the 2.0 generation.

Build: 8

I didn’t build the kit, but I have built the SCT 2.0 and swapped chassis and diff builds and shock builds as well as replace the steering bellcranks, so every part of the kit has been disassembled and reassembled.  The kit for the most part works fine, but I have found errors in the manual (wrong part #’s, wrong dimensions, etc.) and the sheer number of hex drivers that you need (0.05″, 1.3, 1.5, 2.0, 2.5) is somewhat annoying.  The steering system is a bit fiddly with the bearing washers and the way it threads together, and the rear end is a bit fiddly with the way the toeblocks are held in with tiny screws.  It’s not bad, but I don’t find it to be an elegant design.  I’m sure the design goal of rear and mid-motor makes for a more complicated design.

Performance: 9

The handling of the car is it’s best attribute.  You get amazing traction, it drives predictably, it’s a very stable and forgiving platform.  I do find mid-motor to be fairly sensitive to setup, a 1mm change makes for a BIG difference in this car, and can turn it from terrible to amazing (or vice-versa!) with minute changes.  The kit setup is pretty good, most people use a brass rear pivot block and slightly lighter shock oil in the rear.  I also ended up going up 1mm on the front and rear shock tower ballstuds, and the car drives great.

It does tend to have a fair amount of body roll – I’m not sure if it’s the long arms, or the inline battery or what exactly, but my car is setup pretty well and I don’t think you can completely tune this out.  I do have it setup for a bit of body roll to get traction, so it may be more setup than anything else.

My primary performance issue with the car is that it’s a little behind the Associated truck in terms of a 3-gear transmission.  I love the way the B5M drives with a 3-gear, and the lightened drivetrain definitely makes a difference in acceleration for spec classes (we race 13.5 here).  It’s also not a light car (my car weighs about 1930 grams), but pretty much every car in this class weighs a lot.

It also would be nice if you could mount the battery transversely – I find the car to nose down a fair amount jumping.  This is with an in-line shorty, I think a transverse battery would help the weight distribution a fair amount and help the jumping.

Durability: 8

I have broken a few parts on the car.  The slipper spring also tends to wear out in this car – it’s a common problem with all of the 22 cars, the spring is just kind of weak.  Not that big a deal in spec classes, but with a mod motor you need to crank it down significantly.  I have also stripped a front and rear camber block, so I recommend you use longish ballstuds and put grub screws in the holes next to the ones you use.  This helps keep the ballstuds from ripping through the holes in a crash.

Value: 9

At
$299, the truck is a pretty good value, especially considering you get all of the parts to go mid or rear motor.  Nobody really drives the car rear motor, so I’m not sure that value is fully realized as opposed to the T5M which costs $20 less.  But the parts are high quality, the shocks are second to none, and you get a lot in the box.

Support: 8

TLR support is good, Frank Root has a strong online presence and will provide a lot of information to racers.  It’s not as strong as Associated (nobody’s is!), but it’s probably the second most amount of information you get out.

Dislikes

I find the build of the car a little fiddly, and the 4-gear transmission is a bummer, but the car drives awesome and handles amazingly.  The slipper is not as good as the Associated one IMO and can be frustrating for newer drivers.  I had a lot of issues with my 22SCT slipper, but the 22T is lighter and with a spec motor not a big deal.

I also find the steering to develop slop a bit quickly IMO.  Crashing a lot doesn’t help, but the plastics do tend to wear out a bit quicker than Associated in my experience.

Conclusion

The car is a very easy and forgiving car to drive, it’s a good value, and is definitely capable of winning races.  My 11-y.o. son finds it easier to drive than my Slash, even though it’s 2WD.  It just a very smooth and predictable car.

I’ve driven a well setup T5M and find the T5M to be more of an aggressive, quicker steering vehicle, while the 22T 2.0 is more a smooth, easy to drive vehicle.  They have different personalities, and you really can’t go wrong with either of them depending on what you’re looking for.

Recommended.

Saturday, January 2, 2016

Sportsman

With the holidays in full swing, I was able to get out for another race.  This time I decided to race the B5M and the 22T2.0 in 17.5 and 13.5 classes on a very busy night at the local track.

To my horror, when I got to the track I realized they had changed the layout and I had no time on the new layout at all.  I got in maybe 10-15 laps with the cars to make sure everything worked, then went straight into qualifying.

It was pretty tough driving the Losi, I don’t drive it much and the setup is not quite there (mostly tire issues I think).  I basically qualified last and entered the B-main in last and finished one ahead of a guy who crashed and popped a ballcup.  Not a great result and shows I definitely need to get some more practice and setup time with the truck.

Things went much better with the B5M lite.  First qualifier I TQ’d, the second one I nose-planted off the start (lol!) and started the A-main 3rd.  The race went pretty smoothly, I had to be turn-marshalled twice, but finished on the podium.  Pretty happy with my result, this was actually my first official Sportsman race.  The previous one I qualified too high and had to race Expert, lol.