I was trying to get my B6 more dialed in, so I threw it on the HUDY setup station to set camber and toe a little more accurately.
The HUDY station is pretty tricky to use, because you want to measure with it pretty close to your resting ride height position, but when it’s in the hangers, it’s at a different height. So to get the best out of your station, here’s a couple of tips:
1. Wheel height is different than setup station height
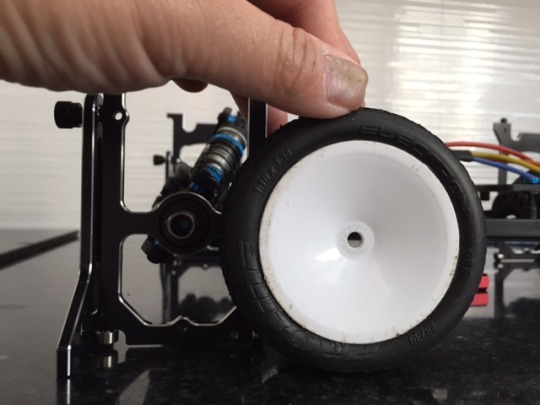
The height of the axles is usually going to be higher than your actual wheel height. In the case of my B6 with Pro-line Electron tires, the HUDY has my car’s front axles suspended about 4mm higher than it would be with the wheels mounted. Measure the height of the HUDY axle mounting points, and then measure the radius of your wheels to see what the difference is. That’s your height difference number.
So to set your toe and camber, you’d want to add that to your ride height gauge. For example, I run my B6 at 23mm ride height front and rear, so I measure the front with a 27mm ride height gauge under the car and then check toe and camber. In the back, my buggy is about 2mm higher in the station, so I stick a 25mm gauge under the rear when setting camber. This will approximate the 23mm normal ride height I run in the rear.
2. Use a flat ride height gauge
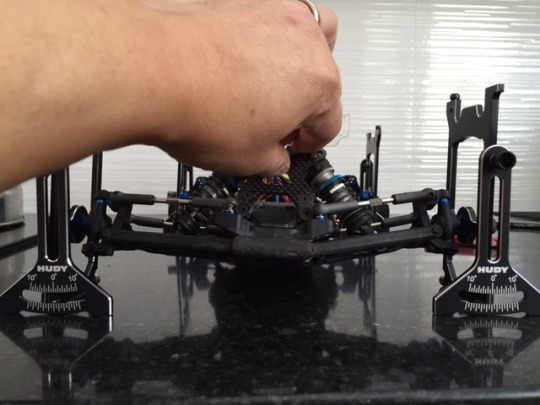
I like the 110% Racing ride height gauges, but they only set the height at a single pinpoint. When you’re pushing down on your car to set the ride height before measuring, you want to use something flat so that you don’t get any left-right tilt. In this example, you can see when I push down on the buggy, the right side is more angled than the left, which is totally going to throw off your measurements!
You need your chassis completely level when measuring.
No comments:
Post a Comment
Note: Only a member of this blog may post a comment.